After downloading the installation file, SetupVDM.exe, and ensuring that you have the VDM license file, LICENSE.VDL, ready, the installation process for Virtual Display Manager (VDM) is straightforward and efficient. Here are the steps to follow:
-
Locate the downloaded SetupVDM.exe file on your computer and double-click on it to initiate the installation.
-
The installation wizard will guide you through the process. Follow the prompts and read the provided information carefully.
-
As part of the installation, you will be presented with the End-User License Agreement (EULA). It is important to read the EULA thoroughly to understand the terms and conditions of using VDM. If you agree to the terms, you will be prompted to accept the EULA to proceed with the installation. Ensure that you have read and understood the EULA before accepting it.
-
After accepting the EULA, the installation will continue. The process typically completes quickly, and you will be notified when the installation is successfully finished.
By following the prompts, reading and accepting the EULA, and allowing the installation process to complete, you will have VDM installed on your system and be ready to configure and use its features.
Maximizing a window while pressing the [Alt] Key results in a window maximized across the adjacent Physical Monitor.

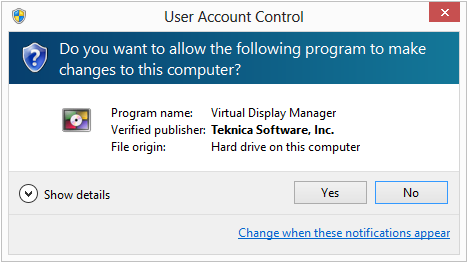
UAC prompt to continue with installation

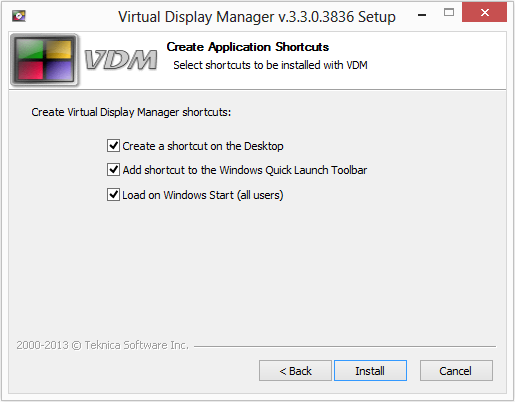
Shortcut creation and auto start options
In case the auto start option is selected, Registry Value “Teknica’s VDM” is added under [HKEY_LOCAL_MACHINE\Software\Microsoft\Windows\CurrentVersion\Run] Registry Key pointing to VDM installation path. This key can be removed in case the auto start option is not necessary for all users.
This installer is very straightforward and provides the following options:
- Selection of Destination Folder
- Choice of optional shortcuts on the Desktop and within the Windows Quick Launch Toolbar (option is selected by default)
- Ability to start the application for each individual user on user’s environment load (option is selected by default)
In case VDM was previously installed, an automated uninstallation is offered prior to the new install. Uninstallation provides graceful unload of VDM.exe running within the current session, although it would be advisable to close all instances of VDM.exe to avoid any possible contention. However if contention is encountered, a prompt for optional Reboot is issued.
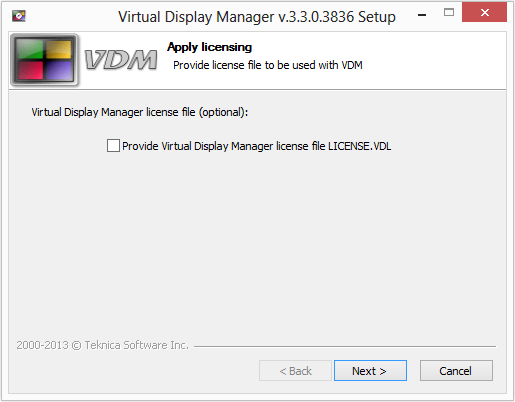
Once most of the installation is complete, an option to apply VDM license is presented (option is not selected by default).

License screen offers an opportunity to apply VDM license file LICENSE.VDL.
In case license option is selected and the “Next” key pressed, further instructions are presented via the license prompt.

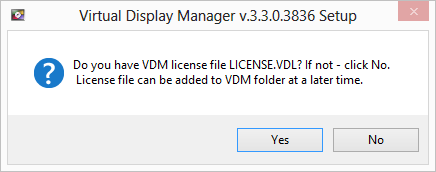
License prompt screen.
Assuming LICENSE.VDL is available and the “Yes” option is selected, a common Windows File Dialog screen is launched, so LICENSE.VDL can be located and imported into VDM folder next to VDM.exe executable.
This is an optional step – license file can be added to VDM folder at a later time or can be reused from the prior installation in case this is an update.
Once installation is complete, Virtual Display Manager’s configuration screen is loaded to continue with application configuration.
Automated removal can be accomplished by running uninstalled from VDM folder directly or from Control Panel applet with Add/Remove Application functionality. Silent removal via “RemoveVDM.exe /S” run from VDM folder is also supported.
Appending “/S” switch provides for silent installation of VDM – “SetupVDM.exe /S”.
